Since most of you have experienced the “not registered on network” error message on your phone we decide to write a comprehensive guide on how to fix the error.
This is very prominent on Samsung Galaxy devices so we are going to use Samsung Galaxy as a reference throughout the guide. Some other Android Mobile Phones such as HTC, Motorola, Sony, LG, etc will have the same issue.
First, let’s find out which Samsung devices have experienced this issue the most?
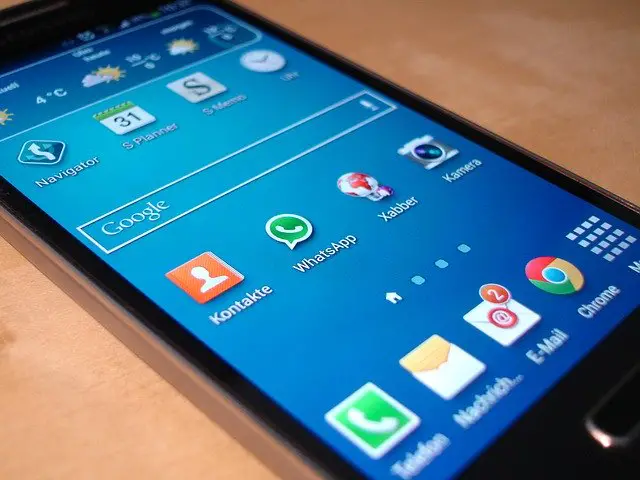
Some of the Samsung Galaxy variants we came across “Not registered on Network“ error is as below:
- Samsung Galaxy A80
- Samsung Galaxy S9
- Samsung Galaxy S7 Edge
- Samsung Galaxy S7
- Samsung Galaxy S6 Edge
- Samsung Galaxy S6
- Samsung Galaxy S5
- Samsung Galaxy S4
- Samsung Galaxy S3
- Samsung Galaxy Note 5
- Samsung Galaxy Note 4
- Samsung Galaxy Note 3
- Samsung Galaxy Note 2
- Samsung Galaxy
There are other android devices as HTC, Motorola, Sony, LG, etc that can also get the “Not registered on Network“ error so please continue reading this guide if you have other Android phones.
What are the possible scenarios in which you could get this error message “Not registered on network”?
Below are the five scenarios that where you could get the “Not registered on Network“ on the Samsung or Android phone screen.
- The error message could sometime occur if you have initiated a software update as a result of a prompt from your network provider or just so you wanted to get on to the latest android OS. The cause of the error in this scenario could be due to the IMEI number being changed to some other random number such as “SN 0000″ assigned to your phone. The updated IMEI number is not recognised by your network provider and you see “Not registered on Network“ on the screen.
- The second scenario this could happen is when you try to insert a SIM card from another network provider where your phone is not authorised to do so. You should check if your phone is locked to the network.
- The third scenario is when you are trying to install an Access Point Name (APN) setting /network setting for another network provider to are trying to switch to. The Access Point Name (APN) settings can be sent to you via SMS or as an install file over the air (OTP) which will update your existing APN setting.
- The fourth scenario could be that your device has been Blacklisted which means that the phone has been reported as “Lost” or “Stolen”.
- The fifth scenario could be when you have rooted your android OS and the stock or any other custom Andriod OS you are trying is not installed correctly.
What can I do to fix the “Not registered on network” error?
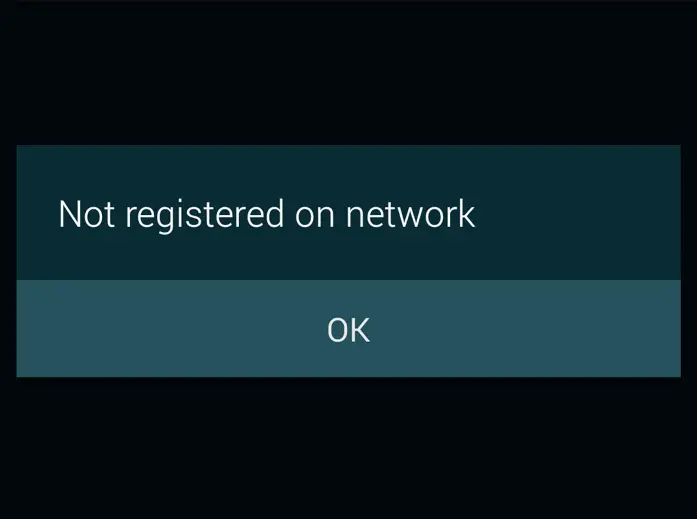
Below are the nine methods that will help you fix the issue:
- Make sure you have the correctly installed the software update or a security patch by verifying the process has been completed fully. You can check this by typing *#06# on the keypad, which will display the IMEI number on the screen. Validate if the IMEI number matches that of your phone. You can do this by matching it with the purchase receipt or the barcode on the box the phone came with. Below is how to update the software correctly on your device.
- Get Your Galaxy Up and Running. Charged and ready.
- Place Your SIM Card In Phone.
- Navigate to Settings of your Phone.
- Scroll Down To the extreme bottom.
- Select Software Update.
- Wait for the phone to reboot and complete update.
- Make sure your phone is not network locked. If your phone is network locked then you have to unlock your device to remove the “Not registered on network“ error.
- Unlock your device by contacting the network provider.
- Unlock the phone with a paid service.
- Check if the actual SIM card is working:
- Try to clean the SIM card with a dry cloth and remove any dust particles from the connections.
- If that doesn’t work try another SIM card as the SIM card itself could be faulty.
- May sure the chip on the SIM is aligning with the phone contacts.
- If you are using a SIM adapter, make sure it solid and not loose.
- Manually enter the Access Point Name (APN) setting :
- Go to Settings.
- Then go to Wireless and networks.
- Tap Mobile Networks (If not found then tap first ‘More settings’).
- Now tap Networks operators.
- After you have completed searching select your Network Operator (Like AirTel, T-Mobile, Vodafone, O2, EE, Lycamobile, MetroPCS, Family Mobile, etc.).
- If the above fails then try to visit your network provider’s website to get the correct APN settings
- If your device is reported as “Lost” or “Stolen” you have below options:
- Go to the police and report the scam
- Try to get a refund from the shop/seller
- Sell your cellphone overseas.
- Root your device Galaxy or Android device:
- Root your Galaxy device.
- Download from Google Play and install “Busy Box” on your device.
- Download this “Ariza patch” and install it on your Galaxy device.
- Now, open the app from the app drawer.
- Just click on the button saying “PATCH” and it’s done.
- Make sure the phone is not on Airplane mode by mistake. Airplane mode will disable the radio waves transmission.
- Swipe down from the top of the screen two times to open the Quick Settings panel. Alternatively, you can swipe down once using two fingers.
- Look for the Airplane mode toggle in the grid. If you don’t see it, you might need to swipe to the side to access more icons.
- Tap it, and your phone enters Airplane mode.
- Make sure you have the Roaming mode on if you are roaming:
- Open the Settings app.
- In the Wireless & Networks section, touch the More item.
- Choose Mobile Networks. On some Android phones, you may have to choose Battery & Data Manager and then Data Delivery.
- Remove the checkmark by the Data Roaming option. On some phones, the option is titled Global Data Roaming Access.
- Clean reset your phone
- Turn off your phone by holding both the Power and Home button together.
- While the phone is off, wait for 2 minutes.
- After 2 minutes remove the battery and the sim card from the phone.
- Press the Power and Home button together 10 consecutive times.
- Next, hold the Power and Home key for 1-3 minutes.
- Now insert your Sim card and battery.
- Turn on your Samsung Galaxy
Not all methods will be relevant in your case so please choose the one that is the most suitable for your scenario.
We have tried to cover all bases so most of our visitors can find a solution. Please leave a comment and let us know how you get along.

